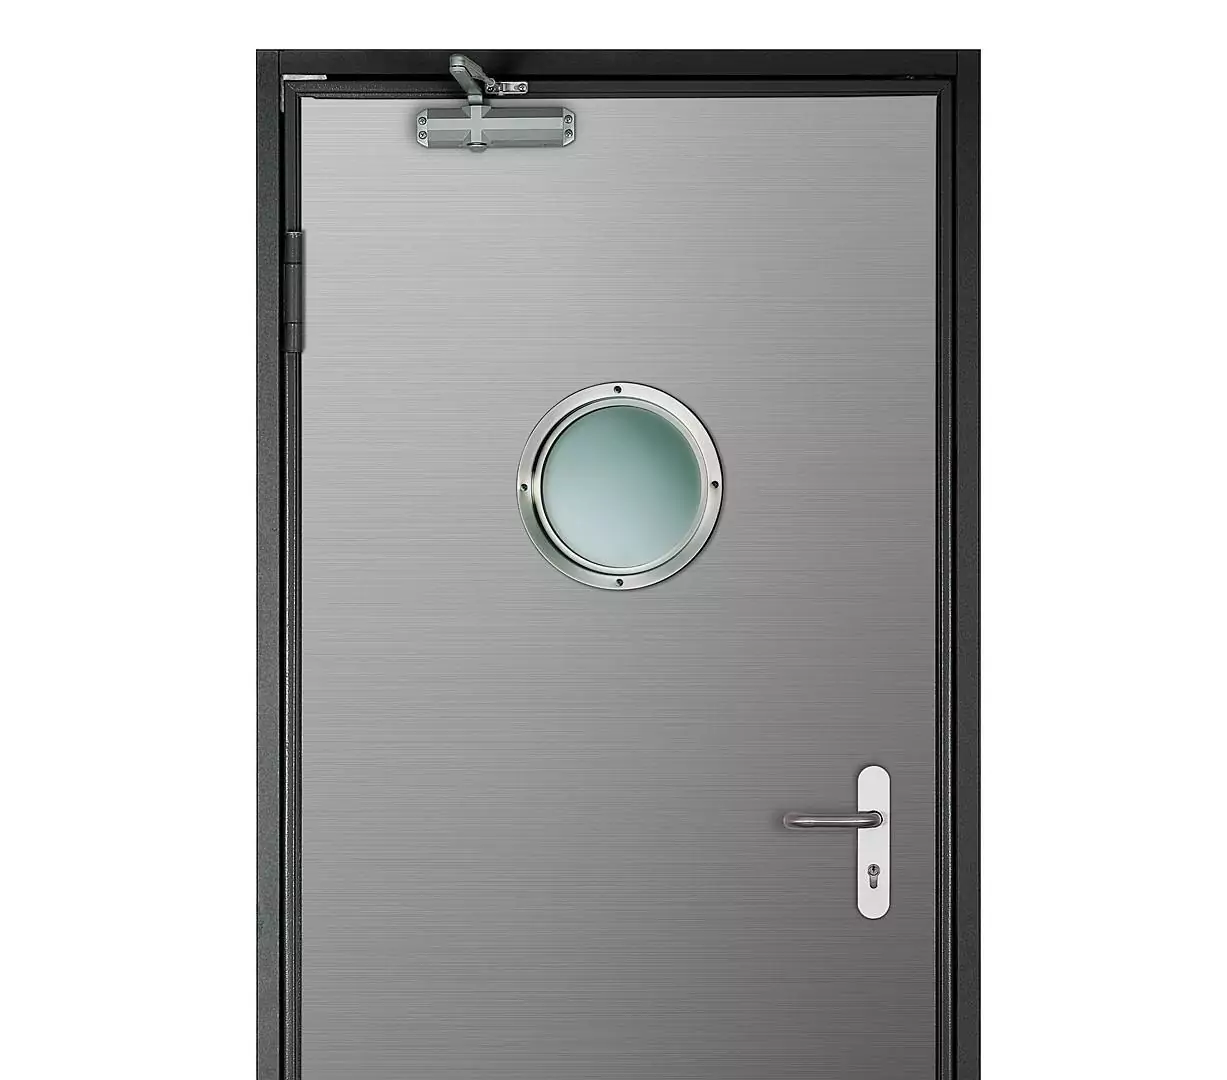
Installing a door closer is relatively easy. Still, we thought it would be helpful to put together some tips on how to do it correctly.
Door closers are usually installed on the hinge side, although they can also be installed on the opposite side.
Install on the hinge side
To install a door closer on the hinge side, use the top edge of the door panel as a reference point. Follow these steps:
Step 1: Align the template included in the door closer box with the top edge of the door and the centerline of the hinge. Use a marker to mark the mounting points on the door.
Step 2: Drill holes at the marked points and screw the door closer into each hole. Attach the main arm and the extension arm, and push the main arm to connect it to the extension arm so that the extension arm is at a 90-degree angle.
Step 3: Adjust the speed and force of the door closer
Install on the side opposite the hinge
In this case, the template should be aligned with the frame rather than with the sheet.
Step 1: Turn the template face down and align it with the bottom edge of the frame and the hinge pin.
Step 2: Mark the anchor points for the door closer on the frame, and then mark the anchor points for the arms on the door leaf as shown in the drawing.
Step 3: Drill and screw in the door closer and the arms. Push the main arm to connect it to the extension arm so that the latter is at a 90-degree angle.
Step 4: Finally, adjust the speed and force of the door closer.
Important
Lubricate the arm joints every 50,000 cycles. Notice
For the purposes of this post, we have used the recommendations and drawings from our supplier TESA, specifically their CT1800 model. Click here to learn more about the product.
Learn More